

Underwater photography: a complete guide to taking successful underwater photos
Want to try your hand at underwater photography? Whether you want to capture a serene-looking turtle, photograph a school of silver fish in military formation, or snap a picture of a nudibranch (yes, those flashy little things really do exist!), welcome to the deep blue! But be warned, underwater photography isn't just about a GoPro and a swimsuit. Between issues of waterproofing, lighting, and buoyancy, it's best to be well-informed before diving in.
Here is our ultra-comprehensive guide to help you get started (or improve) in underwater photography.

1. Choosing the right camera equipment for diving
a) Compact, hybrid or SLR?
It all depends on your skill level and budget. Waterproof compact cameras are a good entry point: easy to use, they slip into a pocket and save you from breaking the bank. Perfect for getting started. But be aware, you'll quickly find yourself limited if you want to go further in terms of image quality or manual control.
Hybrid cameras, on the other hand, are a good compromise: interchangeable lenses, good image quality, and often more compact than DSLRs. If you want to get serious about photography, it's a good investment.
DSLRs remain the gold standard in terms of image quality, but be mindful of their weight and bulk underwater. If you're going on a diving and photography trip, make sure you have enough space in your bag and in your itinerary!
b) Shall we talk about waterproofing?
A waterproof housing is your lifeline. It must be tested, properly sealed (with no hair caught in the gasket), and compatible with your camera. Choose models that allow access to all the buttons on your camera body, and don't hesitate to invest in a pressure tester to check the watertight seal before putting it in the water.
Remember to maintain your box: rinse with fresh water, lubricate the seals, and above all, never force it closed.
c) Flashes, headlights and the like
Underwater, light fades quickly. Red disappears at 5 meters, and at 20 meters, you're in blue-green tones. To get vivid colors back, you need artificial light.
Flashes (strobes) are generally preferred for photography: they provide powerful, well-directed light. LED lights are more practical for video or for helping you focus.
Tip: Place your flashes on either side of your housing, at an equal distance from your lens, and point them outwards to avoid reflections on the particles.
2. Know your environment (and respect marine life)
Underwater photography isn't like Survivor. You don't trample the coral, you don't move the fish, you don't touch the turtles. Observe, anticipate, respect. The best photo is the one you take without disturbing your subject.
Learn about the habits of the species you want to photograph. Some fish are territorial, others extremely curious. Nudibranchs are easy to approach, while rays or sharks can be more elusive.
Take the time to observe before shooting. The calmer you are, the more you integrate into their environment, and the more you increase your chances of getting THE shot.
And above all, don't forget the basic rules for respecting marine wildlife : no contact, no repeated aggressive flashes, and never feeding.

3. Mastering your buoyancy
If you want a sharp photo, you have to stop fidgeting. Neutral buoyancy is key. No stirring up sediment or crashing into coral. Maintaining good position in the water is good for your photos AND for the environment.
Start by training without equipment: remain motionless 1 meter above the bottom for several minutes. Learn to move with your lungs: inhale to ascend, exhale to descend. Your buoyancy compensator is a tool, but your breathing is your secret weapon.
And don't forget: a photographer who floats is a zen photographer. Less blur, more serenity.
4. Understanding light underwater
Underwater, light does not behave like it does on the surface. It disperses and transforms very quickly , especially as soon as you go below 5 meters.
Color disappears with depth: red evaporates first, then orange, yellow… You quickly find yourself in a bluish world. And it's not just about the atmosphere: it directly impacts your photo.
Using a flash or spotlight helps to reproduce colors. But be careful: if not used properly, they can create blown-out areas or a "snow" effect due to particles.
Working with white balance is also crucial in underwater photography . If you shoot in RAW (which we recommend), you can correct it in post-production. But also remember to configure it correctly on your camera to have a clean base.
Try shooting from an upward angle (bottom to top). You'll take advantage of the ambient light, and your subject will stand out better against the blue of the surface.

5. Choose the right time and the right spot
Not all dive sites are equally good for photography. Favor shallow sites (10-20 m), well exposed to the sun, with rich biodiversity.
Morning is often the best time: the light is soft, the animals are more active, and visibility is generally better. Avoid crowded afternoon dives where the particles have been stirred up by every swimmer in the area.
Also find out about the seasons and local conditions: some spots are magnificent only a few months a year (migration of manta rays, reproduction of corals, etc.).
6. Underwater Photography Techniques
Mastering underwater photography techniques is what will make the difference between a blurry photo of a fleeing fish and a shot worthy of a diving magazine.
a) Approach your subject gently
There's no point in rushing. The best shots come with patience. Observe, let your subject get used to you. Approach slowly, without sudden movements, always within the fish's field of vision.
Try positioning yourself at the same height as or below the subject. This gives a more dynamic perspective and highlights the scene.
b) Composition
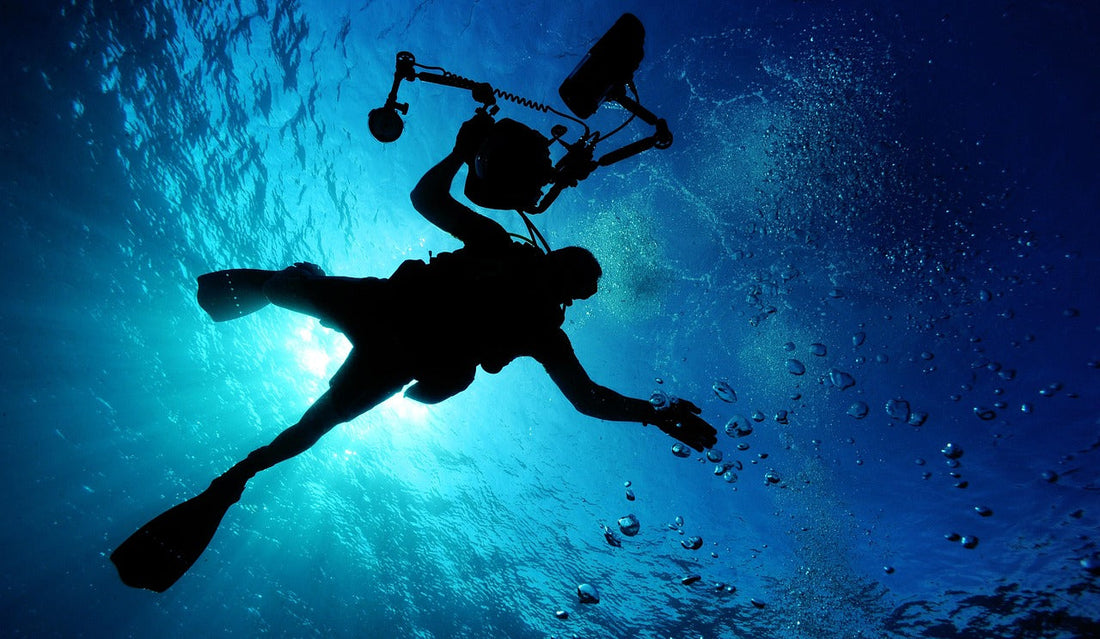
Underwater, the rules of composition remain valid: rule of thirds, leading lines, depth of field... Play with the backgrounds: a diver in silhouette, a ray of light filtering through the surface, a cloud of bubbles.
Vary your shots: wide shots for underwater landscapes, close-ups for animal portraits. And don't forget to leave space in front of your subject to create visual movement.
c) The development
Focusing underwater can be tricky with particles and movement. Use manual focus if your camera allows it. Otherwise, select a center-focus mode and lock the focus on the subject's eye.
7. Recommended settings
-
Manual mode = total control. You adjust your exposure according to the depth and light.
-
ISO : starts around 100-200, increases only if necessary.
-
Aperture : f/5.6 for portraits, f/8 to f/11 for greater depth of field.
-
Shutter speed : at least 1/125 s. If your subject is moving (or you!), increase to 1/250 or more.
Do some tests before shooting to check the exposure, and remember to regularly check your settings when shooting from above.
8. Bonus tips to make life easier
-
Double-check the seal before each dive. Always.
-
Silica gel in the housing against fogging (and a homemade anti-fog like diluted dish soap also works).
-
Batteries fully charged (and spare!), because the cold and the LEDs discharge them quickly.
-
Empty and fast memory cards to avoid spending 15 minutes loading a 30MB RAW photo.
And remember to secure your accessories well with carabiners or wrist straps: anything that floats or sinks can get lost very quickly!
9. Post-processing and sorting
You come back from diving, you transfer your photos and... bam: 250 files, 50 blurry, 20 turtles from behind, 1 masterpiece. Sorting is essential.
Use software like Lightroom to adjust white balance, contrast, and colors. Cropping is also your friend, especially if your main subject was a bit far away.
Ruthlessly remove the irrecoverable blurs, but keep the photos that tell a story, even if imperfect.
10. Don't get discouraged
Underwater photography is demanding. At first, you'll get a lot of blurry shots, ugly reflections, or turtles with their backs turned. But persevere, observe, and have fun. Every outing is a learning experience.
Accept that some dives will yield nothing. That's part of the game. And then suddenly, a magical moment: a passing dolphin, a camouflaged seahorse, a sunset seen from the bottom.
You will have earned those moments. And they will make you a true underwater photographer.
❓ FAQ – Underwater Photography
1. Which camera should I choose for diving?
A waterproof compact camera is sufficient to start with. For higher quality, opt for a mirrorless or DSLR camera with a waterproof housing.
2. Why use a flash underwater?
Underwater, colors disappear with depth. A flash allows you to reproduce true colors and avoid dull photos.
3. How to avoid blurry photos when diving?
Control your buoyancy, use a sufficient shutter speed (at least 1/125 s) and focus on the subject's eye.
4. What are the rules to follow in underwater photography?
Do not touch the wildlife or corals, do not chase the animals and respect their space. Be observant and patient.
5. Should you shoot in RAW underwater?
Yes, it's recommended.
Conclusion: unclear, but stylish!
Combining diving and photography is a bit like playing the violin in a hot air balloon: technical, delicate, but incredibly rewarding. With the right reflexes, a little practice, and a lot of respect for the underwater world, you'll quickly be shooting stunning photos. So, ready to dive in with your camera? Get your underwater housing ready, adjust your mask, and let the aquatic masterpieces begin!
Want to go night diving? We'll tell you more in this article , or we'll list all the best spots for diving and taking your best photos here!